Sunday, 16 February 2025

Time vs Money, the age old conundrum, and a few updates.

      Well, that's Christmas in Prague and the New Year here in Scotland done. A few changes have occured in the personal life. I have taken temporary leave of absence from my retirement, for an offer and work collegues too good to refuse. So I have joined the regular work force again. A contractor (sounds menacing doesn't it....). This has enhanced my spending power, but has handicapped my time. I will cope with this first world issue.

     Anyhoop, a quick progress report, as I have been chipping away at little jobs. Firstly, the headlight refurb is completed, remember the cost of chrome would predicate a selling of a kidney, hence the decision to satin finish all over was decided upon, keeping the bike kinda true to the cafe racer / street fighter look I am looking for, pictures of the headlight below, resonably pleasing to comlete. The rbbing NOS pirates on fleabay and the like wanted 14 quids for 2 M8 domed bolts becaust they were in a Suzuki bag (for mounting the headlights)! So, with heavy heart, as I often berate the DiY store addicts for bike resotration, went to a local supply shop and purchased fitting repacements for the NOS, for a bairgain 0.50p, a bargain.

     From this:

     To this:


     As you can seee, I have made some brass inserts for the sides of the light, and refurbished all the bolts in the lamp, apart from the binnicle, which are new M5 counter-sunk head screws, stainless of course. All in all, am happy with the result. 

     Secondly, remember the seat unit I aquired from selling models from the local charity shop to fund, well, the shape was good, the finish - well ropey to say the least. To the point where I got a glass splinter or 2 from handling it, and it was a little flimsy. Now, cast your minds back, who do I know that does exceptional glass work......Oh yes,, the bodywork god that is my father-in-law, albeit retired. My eureka moment, i asked him to finesse the seat. Using some average resin from Halfords (it was shitty) and hardener (also shitty - in hindsight I should have gone to eBay for a decent supply at half the cost, my usual mantra). So, presented with the seat and said goods he, and I have to say with unmatched quality, has enhanced the unit integrity massively. Pictures below. The outer finish is untouched, but, boy, the underside has been revolutionised, and the strength has been massively enhanced. Not to mention the finsh is now splinter free and smoooooooth. Barry is a genious, his skills have not faded with the years, indeed anyone who delt with BB Plastics back in the day, will know how good his work is. The lighter white finish is the work he has done with the 500ml of crappy resin I supplied, he is a master of his trade:


     As you can see, the finish is night and day, and the seat is now ready to support my not inconsiderable frame. He has strengthened the rear to take a light, and the whole of the front too. The unit doesn't flex anymore and has that weight to it that says quality. I am impressed all the way!

     Next up, will test fit the headlight to the forks and get the engine out of the frame, get the tank and seat aligned and fittted, then frame to powder and the engine for a good clean and covers polished.

     <with the Dr Who theme in background> Stay tuned for the next installment.....


Wednesday, 1 January 2025

Thats a wrapp, New Year - the build continues....

      So, after a small hiatus, mailny involving lots of travel, beer and food I got back to the garage for some therapy. First off, my parents got me a set of wrenches (I know spanners, but I have spent too long in the US of A). Lets face it, at our age, Christmas is a difficult time for presents as we have most anything we want, which leaves Whisky or tools, so tools it was - a lovely set of metric ratchet wrenches - now thats a mouthful for most every one (Nina Hartley an exception). So I got to organise my metric drawer in th eVidmar - remember the Vidmar, a restoration from my time in Florida, from my best friend Robert Meadows. The result is quite pleasing:

     This gave me the nudge i required to get back to my bike build, so to the garage on 01 Jan 25, new year, same build. So my first job was to strip down the the forks, the first one went lovely, cleaned up the lower and a quick service. Oil replacement tbd. The second was a nightmare, Captain Bodge had been at it, the first bolt was a B&Q special, the lower stud being totally absent, and the other stud had been stripped, epoxy resined and nyloc bolt bodged, almost certain death if I had not checked it and riddent the bike - another lesson learnt:

     Some new ones were made up from some high tensile steel, and fitted, happy days, and all cleaned up, studs fitted with red thread locker.

     The urge to have a milestone was great, so i test assembled the fromnt end, having cleaned the ignition switch and the key, it now functions perfectly, a happy event. So below is progress to date, the front ens is almost complete, the headlight needing a service and restoration, all else is complete for the front, the powder coating still needing done, but hopefully by months end it should be done.


     As you can see, a rather pleasing outcome.
     Next upm the headlight and engine removal for frame prep, on which note, I havbe purchased the seat unit, effectively it was free as i funded it with eBay sales from stuff acquired in thrift / charity  shops, so happy days:


Stay tuned for more entrawling installments of this blog. TTFN


Am Happy with That.........

     So, the clocks turned out alright, I hope they work, once connected and the bike working, the pudding will be proofed.

     In a quirk of fate, i was on the GS Owners Forum (fannybook) and noticed one of the gurus not only lives down the road by 3 miles, but i used to work with him. Happy days, i dropped him a line, and his absolute forte is bike electrics and GS motorcycles! Not only that, he had a fuel tank tha i could have for a very reasonable, best price, one time only, never to be repeated, so said tank was snapped up!

     Hear is a picture, it is from an earlier model but that is a smoother look, something i like, so the bike is evolving, the FrankenGS is being born.


     Not only that, the lock set that had siezed due to the amount of detritus ingressed and general shite it was stored in, was freed up - with a little WD40 and careful cleaning it now functions luverly! Even better than that - the fuel cap, that resembled a block of sandstone with rust was cleaned. A copious amount of elbow grease and a light addition of NASA's water displacement product cleaned that as well, and made me a very smiley person when the key from the ignition also worked the fuel cap, that fitted the tank! I was very very content.
     The mounting lugs on the frame need relocating, to fully secure the tank, a small job and will be done post Christmas when the frame gets tackled. All in All a good purchase and, with some degree of luck, the ancilliaries for the tank fit, a forst on this build.

    Now to the final installation of the clocks, yokes, bars and headstock etc.


     More to follow after Christmas

Sunday, 10 November 2024

Reasons to be Cheerful....Part 2

      Well, quite the week, progress has been made, even with the missus banning me from any rattle can action in the garage, indeed i have been banished to the bins. I jerry rigged a mini spray booth...well, a cardboard box with the front cut out and a bar inserted to hang things from. Under pain of death if i get any paint on the bins. The trials of this avid bike builder.

     So, with everything cleans and wiped over with white spirits i began the slow process of priming all my parts restored thus far. The pace being dictated by both the weather and the capcity of my booth. But, despite the sedantry pace, all were primed in good order:


Forgive the socked feet......

     I am pleased with my progress, indeed a happy man. I have test assembled all parts, and i have now come to terms with what 40 years does to rubber grommets and O-rings, so off to flea bay and Amazon for some speculative purchasing of said pieces.

     With the parts primed, sanded and primed again they are now ready for the satin black final coat, to the rattle cans......The last job for the front is the fork lowers needing a good clean and polish, my dilema is to just a light polish with some Autosol, or go for the mirror finish with mops and a lot of swearing, i do love these decisions.

      Thats it for this short interlude, next uP the finished parts, assembled and ready for the frame, something that still needs the engine removing and then trimmed of some redundant fixings and cleaned up before powder coating.


Sunday, 27 October 2024

From the Brakes to the Front End........And back again - Part 1

      Well, I seem to be over-using the term fuckwittery, so lets just leave it there, at the start and assume there is a lot of it from the previous donut of an owner. That said, the forks are OK, the only thing they need is the lowers polishing. I will refresh the fork oil and thats about it. The tubes are just about salvageable, the potting not being bad and the seals being ok, again i may replace them to refresh the forks.

    Now then, the rest of the front end.....Clocks, binicle, trees, handlebars, headlight and indicators (or lack of them). They all have suffered from storage in a resty puddle or loss over time.


The headlight seems to have faired the best of the bunch, the only bug bear being the surround, the chrome is severely rusted and bubbled out. No issue I thinks to myself, I have watched Henry Cole on mumerous TV productions, will get it and will throw int a few other items to join them in the acid bath. The light mounts, side stand, surround and some sundary parts would wing their way to a local chromers. Hmmmm, firstly Scotland is bereft of metalurgists, secondly - it would appear unless you are Henry Cole or the like, the cost is rather prohibitive, quotes north of 300 of the Kings finest pounds have been bandied around. Rather eye watering when you consider the purchase price of only £225.00 And a selling of parts balance of £25.00. As this is being kept true ot the cafe racer mantra and keeping it clean, stylish (in my eyes) and cheap I have elected to sand out the chrome headlight, etch prime and paint in satin black, along with a lot of other parts. Hey ho, Henry Cole is a blagger of the finest kind, gave me a little false hope to join the chrome gods, but also inspiration on my build.


     Now, the clocks. I have learnt that even the finest Japanese engineering does not partner well with good old British puddles. The rev countrer is propper fucked, rusted internals, broken dial and fuel gauge has long since departed any relm of salvage. Only one thing for it......eBay!
     First decision - after market or OEM.....well, the only thing that kind of scares me is 40 year old bike wiring, and i did not fancy rrying to re wire / fit new swanky dials to an old loom, so OEM dials it was - now to find them. Turns out their is a lot of variation - even within model production. And price, every one selling dials for mid 80's bikes are very aware of the paucity of availability and hence proud of their possesions and price accordingly. I did find a set for £100, made a pleading offer of £50, and to my delight, it was accepted. New clocks, but not quite right, so I have had to replace individual wires with a 3 block as per my bike. Soldering - I have learnt is a skill all of its own, and flux - in copious amounts is always preferable to little balls of spent solder on my bench. Once attached, all good, apart from a redesign of the chrome rear support for each clock and the mount being the same but differnt!  Also, the inner plastic is orange, not white as on mine and the needles are also a different colour, i will frankenstien the construction with some artistic melding of dials etc and then paint the surrounds, that are long past a clean ad put them back together.So all that is now being sorted.


    So now I have a good set of functioning clocks, a mount and centre consol that appear to be functional and look good, or will once painted in satin black and assembled. I have ordered some appropiate handle bars from China, they are at present - clearing customs at LHR and should be here withing the week or so. Then, once all the little taskes are done, all will be assembled and reunited with the very nice brakes and will await the frame to catch up once it is powder coated and the rolling chassis can be compiled.

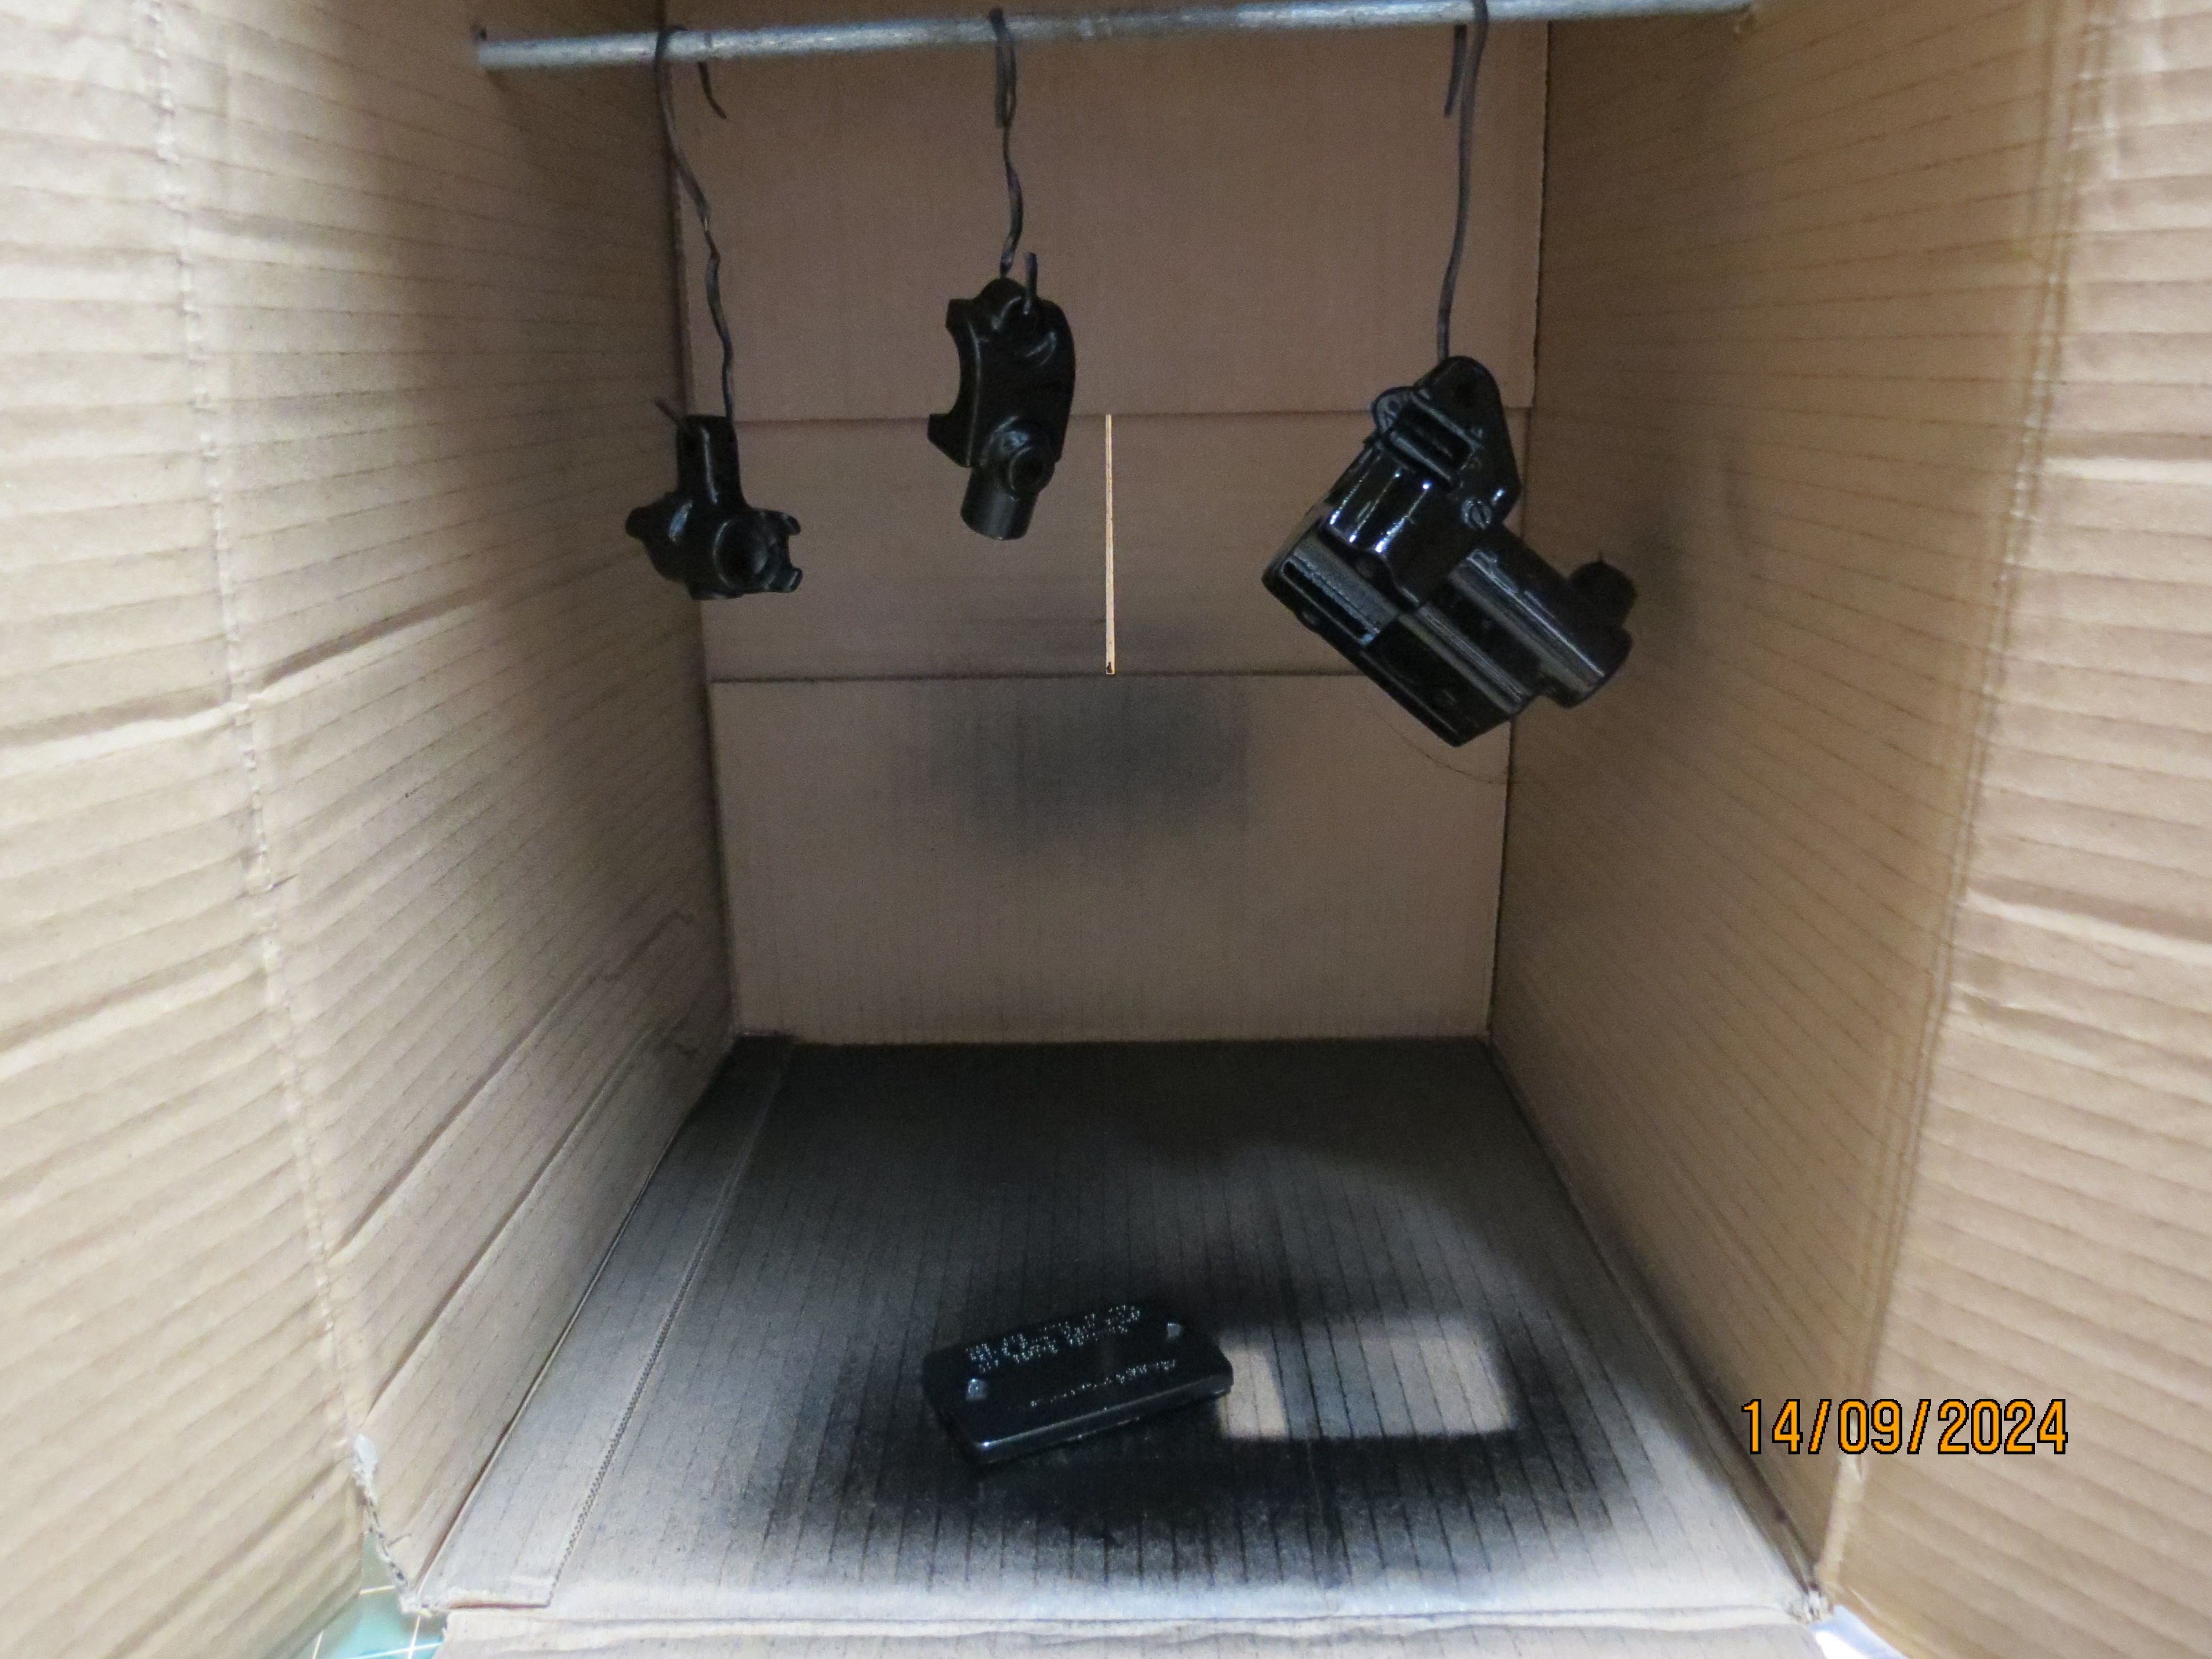
    So, lots of prep work, rubbing down and parts picking to be done, and then priming along with the application of satin black paint, to start to bring the scheme together. Oh, and of course, all of the fastenings to be polished and used too, to which end i had to order a new belt for my lathe. Noe, Halfords used to be my go to, they offer Blue Light discounts and stock ,ost things. But you go to their web site and try to just find a 35" V belt......tis nigh on impossible. What I am finding more and more is that most places now want to know what you have and tell you what you need.....not trusting you to know what you want, so I have consigned Halfords to the archives of my buildong and now am a convert to Amazon prime and eBay, Halfords stock will plummet with the withdrawl of my custom.

     Part 2 will have the finished pieces and hopefully - and assebled front end (minus the hideous gold wheel, that should get powder coated along with the frame and swing arm) when the finacial gods deem it possible. Again, my estimate of costs will almost certainly be blown out of the water, but am hoping fro around £250 mark for the work....... I must stay focussed on my vison:

Obviousy, colour and fittings will differ from below, this is my template......


Wednesday, 25 September 2024

Total Brake refurbishment...more fuckwittery

      Years of crud, shite and rust - thasts the story of the brakes, oh and negkect. Its a good job I enjoy the rectification of time and stoopid. So the brakes were stored in a box, open to teh elements and, from what i can assertain, under a bush. They were in a state of neglect and on the brink of being scrapped. 

     I took a deep breath and started to take them apart for restoration. Following my mantra of restore before replace. From what I could see, they needed cleaning, stripping, painting, all seals replacing, along with both master cylinders serviced - so not a lot then! Have gone back to tacking pictures with my Canon SX40 bridge camera, I prefer it to my phone - old school I know!

     A lot of WD40, swearing, cussing and liberal use of torque, heat and percussion adjustment I got the units apart, quite the job, and - incredibly - no damage to anthing that wasn't going to be replaced. Lots of rust and detritus removed. 


     Inotially, hot water and degreasing was the order of the day, using scotch brite, 0000 wire wool and a very stiff tooth brush. These were the weapons pof war against the grime, and worked very well. Everything was cleaned. Surprisingly, the use of domestic products is often a good and cheaper way of doing things. Following that idea, i used common paint stripper on the brake housings, they were down to the alloy after 2 coats and a bit of green scotch-brite action, rear calipers were given the same tratment, as you can see below, the stripper done its job well:


     I swifly re-engineered a cardboard box into a spray booth, having purchased some satin black gloss brake paint, followed the instructions (unusual I know!) and  painted the calipers, having blanked the ports off prior to spraying. Two coats later, mmmmm, almost shiney (see what i did there...).


     so everything came up well, Banjo bolts were serviced or replaced as required, bleed nipples given the same diligent treatment. All hoses blown through and serviced, washers replaced and everything greased and then assembled. The front brake lever was polished, retaining some scars, a hint to its past and the switch was replaced as the previous one had parts missing. The pistons were put in my lathe and given a polish, a couple of pits, but not to affect their function, Everything went well - I had an issue getting the dust seals in the front calipers, a fud moment, but resolved the conundrum by using the piston with engineering skill to stretch the seal and get it into place, happy days.


     The final build results are below:


Thursday, 22 August 2024

Drive train removal .......

     Fecking nora, what a trial, this bike was definately been loved at some point, the mechanicals seem good (there is the kiss of death),  the drive train moves freely and without any percievable backlash. That said, the nuts and studs connecting the drive train are very corroded, and in two cases were removed instead of just the nut, this was at the rear of the drive train. I intend to clean up the drive shaft and treat it to a nice greasy time. It would appear that the boot covering the engine to shaft link was removed quite sometime ago. The moronic behavior of the previous owners is causing quite the frustration. My intent to restor this bike and give it a new lease of life, albeit, not as a standard GS, is becoming resolute.


Drive chain out, next the forks.


     Like the rear, the front end fought me, like cat in a bath, it was a twat. The screws were all on their last legs, often rounded on tightening, so removal had to be artistin, and involving WD40, heat and an manually driven impact wrench, which was also surprisingly theraputic. And the upshot was the removal of the stubborn screws. The stem and bearings were in very good condition, so there was either some love shown by a previous owner, or, in my opinion, nothing was touched and Suzukis build quality has prevailed. 

      The rest of the bike was challenging, but succumbed to my skills with lubricants, heat and wrenches, Its condition is hot and cold. The alloy has definately seen better days, but mechanically (I am going to say it again), the bike appears to be sound as a pound.
     The strip down is almost complete now, the  carbs were a mare, fighting to stay on the engine. Again leverage and verbal lubrication helped a lot, so only the engine to come out of the frame, then a little grinding and filing allied with some studious moments looking at what I need to achieve with the frame will result in it being ready for a trip to the media blasters and powder coating in a satin black.


     The carbs are in a bad way, a refurb kit is in order, as is a acquisition of a ultrasonioc cleaner to refresh everything else. Then reassembly. But first I will attend to the brakes and chassis so as to get the rebirth on the way.


    The carbs off, considering the fight they put up, the fixings are a little corroded and surprisingly compliant to my advances. Am thinking of loosing the pods and reverting back to a nice K&N filter, to avoid the rejetting and subsequent hours of tuning needed to gett the engine singing on PODs. And the K&N type filter is more in keeping. As you can see from the last picture, a little tickle with some 0000 wire wool, 2 of the filters show promise, the other 2 will come up just as well when i give them the treatment. 

     So, next, engine out, grindiong and off to teh blasters witht he frame, swing arm, wheels and sundry items. Stand-by for the next thrilling installment of 'Old man with a vision.......'