Saturday 31 August 2019

Finished Footrests!!

     The holiday / Hurricane week end, before any weather arrives to force me to runaway from Florida for a bit - I took the opportunity to finish the 'pegs'.
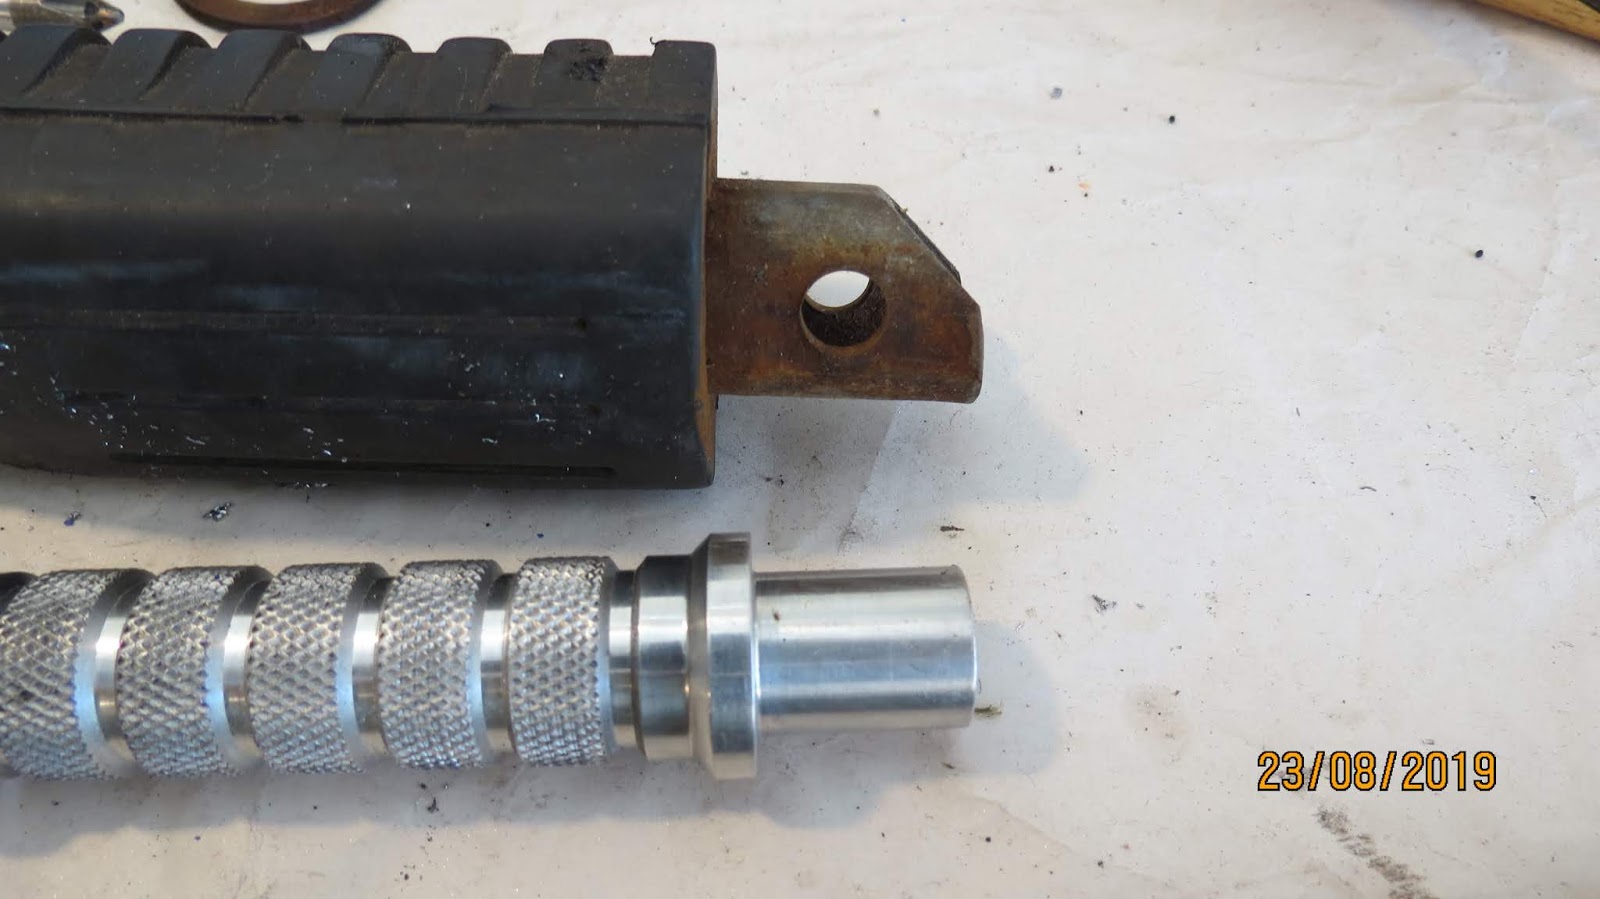
     Firstly they needed marking up for the 8mm holes for the securing pins. I had to round 2 flats so they slid into the holders correctly, then mark up the centers of the holes. This was done, then each piece mounted into my milling machine, for centering - counter sinking and drilling to 8mm:

The holes were drilled in 3 stages, counter sink, 4mm and then the final 8mm hole. I ran the mill at the correct speed for the steel insert rather than for aluminium. Seems a sensible course, avoiding excess heat from the steel and  possibility of blunting the drill bit or worse. Once both rests were drilled i re fitted them to the rear-sets, just to ensure a nice fit.
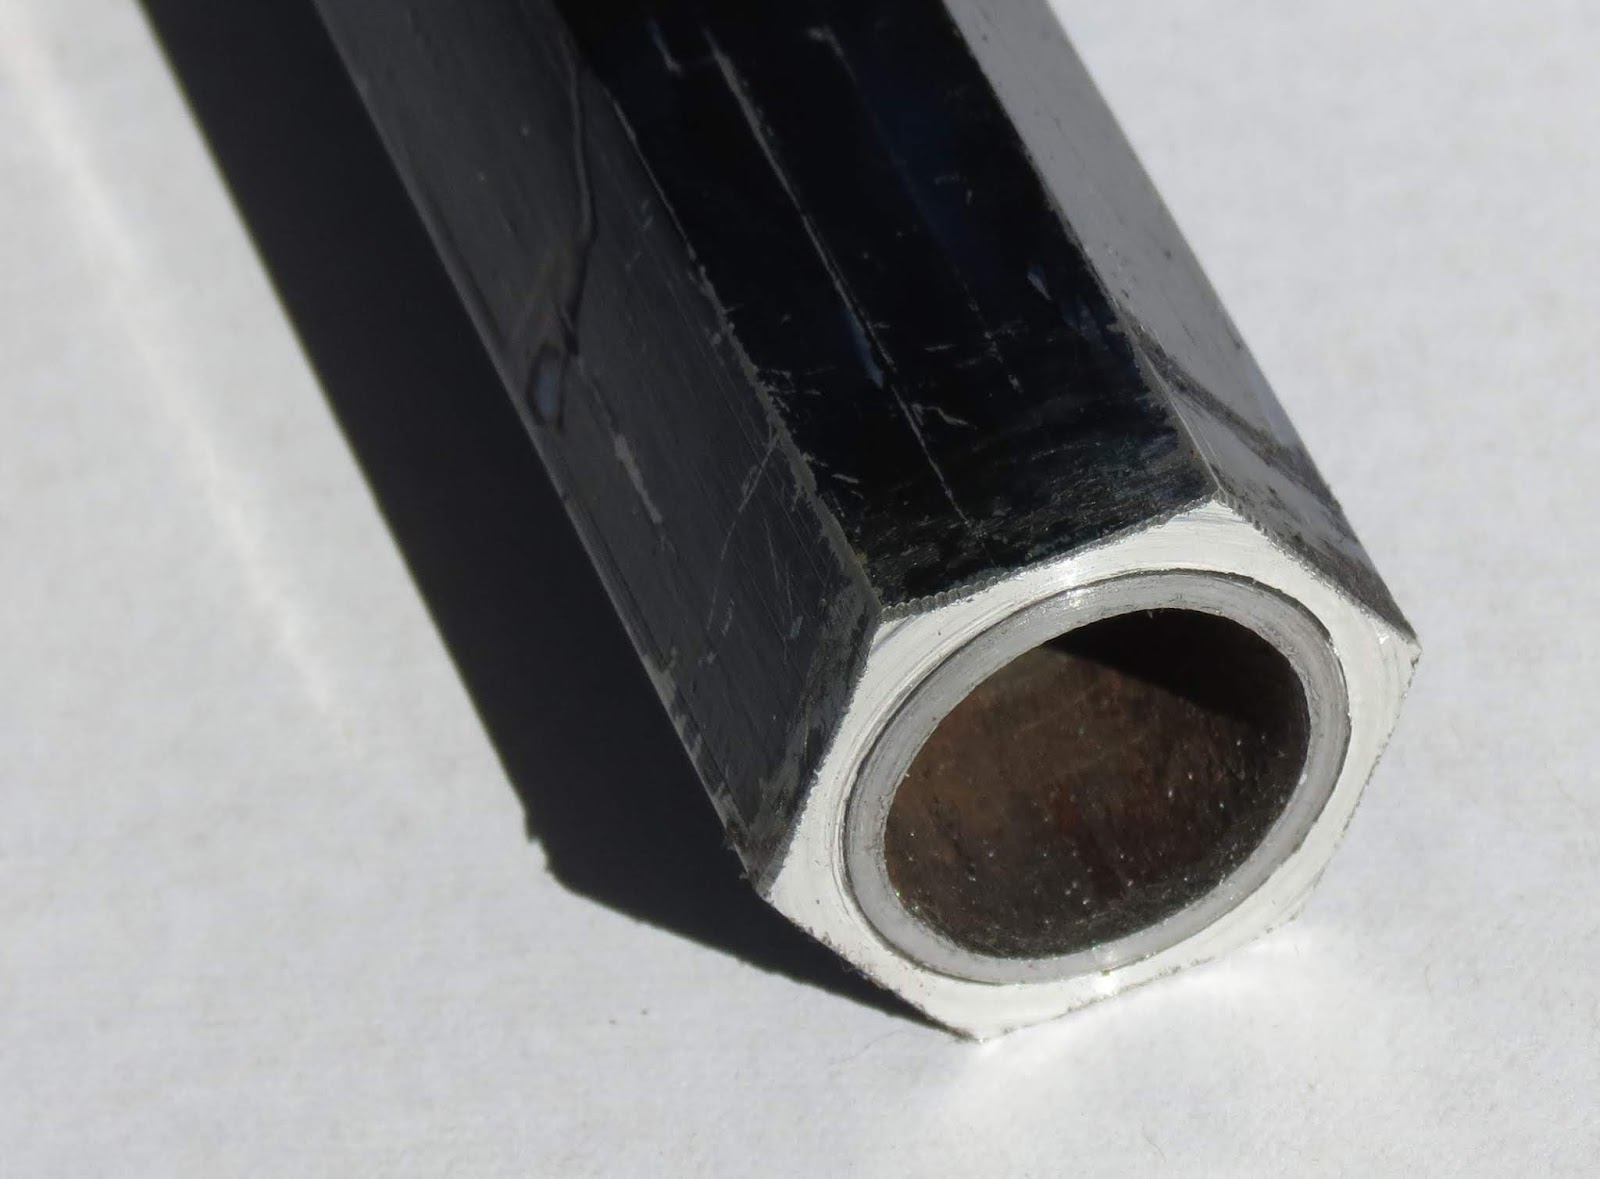
     Chem-bluing the hex part of the rests, I then marked the 45 degree slant, when machined off the angle will allow the rests to pivot up (for when I get the knee down - and no hero blobs to worry about....). The pieces were marked up and then each mounted back in the milling machine,  my cutter of choice being a 4 flute 3/4" end mill. The mounting complete i cut the angles to half the across the points depth, basically to the center of the rest. The cutter was a hot knife through butter.


Once both pieces were cut they were cleaned. Not sure if I am going to polish them as yet as I like the contrast in finish and form. The the securing pins were given a good clean and parkerized. Giving them a black to grey look. The all pieces were cleaned one final time, checked for fit and assembled.


     I am very pleased with the final finish. The pegs from Barry were nice, and I was determined to put them on my bike. That is now possible, with a little bit of thought and engineering know-how. The picture below shows the rear-sets, pegs and securing nuts. All bespoke pieces finished to within 2 thou and giving a great sense of achievement.


     Now onto the next part of the build, I do keep saying engine, but I am working up to that. I now have the tail light and the seat unit will need modifying to accommodate it. The intention is to recess the light into the unit. Beer-o'clock now.

Saturday 24 August 2019

Footrests - part 2. A third installment will be called for I think.

     Beer was good, I have a penchant for PBR, refreshing and tasty. So a few days later I get to designing and machining the foot rest nuts, for the other side of the rear-sets. You can see them below, My original design did not turn down the outer side of the nuts but the finish was clunky and, dare I say, amateurish, lacking in thought and refinement. S, after a little thought and some math, one prototype later, a finished design was settled upon. Off to the lathe.
     I had some hex aluminum stock, 3/4" across the flats, this was my metal of choice - mainly because it suited my needs, was free and is very easy to machine.

     Firstly, the holes for the frame mounts were drilled, tapped and counter drilled to fit the bike:


     An easy and straight forward task, KAWASAKI do everything in metric, I have an old American Sheldon lathe, acquired 6 years ago from the back of an old army service trailer in a junk yard. Dealer said if I could get it out I could have it (Oxy--acetylene torches, 5 ton army repair trailer suspended under a crane, July in Georgia and a near death experience). Bob's your uncle, I was the - much to my wife's delight - the proud owner of a lathe, albeit at the time in dire need of a lot or work to get it running. Once the holes were done, the overall depth being approx. 7/8", and the M8 X 1.25 mm tapped hole being approx the deeper 1/2" or so. All depths calculated and the drill bits marked with tape for ease of production. The bar was then turned to 5/8", to match the rear set bushed holes:


     Once this was completed, the stock was cut to just over an inch in length. Then turned to the required inch and then turned to 3/4", mostly because that was aesthetically pleasing to my eye. Then the ends had a complimentary angle put on them.


     Repeat four times and hey presto - securing nuts for the rear sets. Now, this is when, on further inspection, the rather nice racing foot pegs that Barry gave me do not fit the hangers. The space being 3/4" and the foot rest ends being 5/8" in diameter. As you can see from the picture below, some more engineering was demanded.

 I measured, re-measured and then got to work. As it turned out, the hex stock I have been using for the securing nuts fits the foot rests. I elected to use that as the starting point. Being all aluminum worried me to the point where it was decided that instead of just boring the aluminium stock out to 5/8", interference fitting the pegs and mounting into the rear-sets. although a nice solution, is inherently weak, being all aluminium. Ah-ha! I will produce a steel liner for the hex stock, interference fit that, then fit foot pegs into the liner, and then into the rear sets. I am a genius! So a steel sleeve was produced, forced into the prepared hex stock, with some metal epoxy - courtesy of Gorilla Glue for extra security. There will also be a cross pin when fitted to the bike, this is where the pegs will pivot.


     I faced off the piece and will let it  cure for 24 hours prior to drilling the cross hole for the fixing pin, machining the 45 degree angle to facilitate the rests moving up and back to horizontal, when i ground the pegs in a corner......


     The foot rest production so far shown above, not to shabby, very bespoke and, as it turns out, cost effective. I have about 2 1/2 hours vested in production and another 2 1/2 in mistakes and fuck-ups. Another hour or so will see them complete and mounted. More to follow in installment 3!

Saturday 17 August 2019

Footrests (part 1) - An ode to Mr Smith (metal-head), Barry (the dad-in-law) and paying attention

     Measure, measure again - have a think, then measure and cut. It is testament to machinists everywhere, the old maxim of measure twice and cut once used to work.....
     The having a think precludes making my mistake on mounting of the rear sets and having to artistically un-fuck a perfectly executed piece made for the wrong hole on an assumption. Mr Smith, my old metalworking teacher was right, always check and recheck your work.
     After a taxing week of a daughter's university graduation, which included being rear-ended by a Hyundai something or other, resulting in having to deal with the Fire, Police, ER and GEICO, my week was definitely yin and yang. My gorgeous and foxy wife having a concussion and a few bruises was on binge TV rest for the week to recuperate. Off to the garage I trots, cell in hand - just in case my skills as a reassuring and fine husband were needed to fulfil my baby's needs.

     The rubber bushes I needed to replace were knackered. Two had disintegrated on removal of the rear sets, the other two looked like a T-REX chew toy:


     So I luckily find a piece of polymer (no - NOT her rolling pin), a silent yelp of joy and a quick measure resulted in a perfect piece to mount the foot rests to the rear sets. At this point I should state the piece I was trying to make was the bushings to mount the rear sets to the frame....DOH! I could hear Mr Smith chuckling in my head and asking how I was going to rescue the only piece of polymer i had for the task it was intended. HaHa! After a night of thought and beer the ghost of engineering past paid me a visit. What I had made is bushing for the aluminum bushing for the rear sets. All I needed to make as the aluminium pieces. So I measured, thunk a bit, re measured and then produced my inside bushes:


     As you can see, the improved 2 piece bushes replace the Kawasaki originals, should be harder wearing and isolate any vibration still from the engine, and giving better feed back from the bike when riding. Everything is an interference fit (everything had 2 thou of an inch oversize), a little percussion help in the fitting of the bushings, they went in well.

     The completed pieces - seen to the left - look so good when in place. These hangers will house the very nice aluminum RGV race pegs Barry gave me on my last visit home to Scotland.
     All in all, a good way to un-fuck a stupid moment and actually improve on my original idea, and machine some easy pieces.
     Yes I know a lathe is essential, I have one, so I can produce a lot of stuff and save a lot of money to boot. I heartily recommend the acquiring of such an item. eBay, craigslist and FB Market place has a wide choice at reasonable prices.
     The old heavy rubber foot rests will be gone, a saving of about a pound in weight as well as the new shiny pieces looking a whole lot better:


     An old rest is to the top right of the picture for reference. The shiny aluminium piece will be fitted soon. Now all I need to do is make the external bushes to finish the mounts. They will probably include a thread to the external bush is also the securing nut to fix the rear sets to the frame. Oh and make a sleeve for the ends of the rests so they fit into the rear sets. But enough for  today. Beer-o-clock.