Years of crud, shite and rust - thasts the story of the brakes, oh and negkect. Its a good job I enjoy the rectification of time and stoopid. So the brakes were stored in a box, open to teh elements and, from what i can assertain, under a bush. They were in a state of neglect and on the brink of being scrapped.
I took a deep breath and started to take them apart for restoration. Following my mantra of restore before replace. From what I could see, they needed cleaning, stripping, painting, all seals replacing, along with both master cylinders serviced - so not a lot then! Have gone back to tacking pictures with my Canon SX40 bridge camera, I prefer it to my phone - old school I know!
A lot of WD40, swearing, cussing and liberal use of torque, heat and percussion adjustment I got the units apart, quite the job, and - incredibly - no damage to anthing that wasn't going to be replaced. Lots of rust and detritus removed.
Inotially, hot water and degreasing was the order of the day, using scotch brite, 0000 wire wool and a very stiff tooth brush. These were the weapons pof war against the grime, and worked very well. Everything was cleaned. Surprisingly, the use of domestic products is often a good and cheaper way of doing things. Following that idea, i used common paint stripper on the brake housings, they were down to the alloy after 2 coats and a bit of green scotch-brite action, rear calipers were given the same tratment, as you can see below, the stripper done its job well:
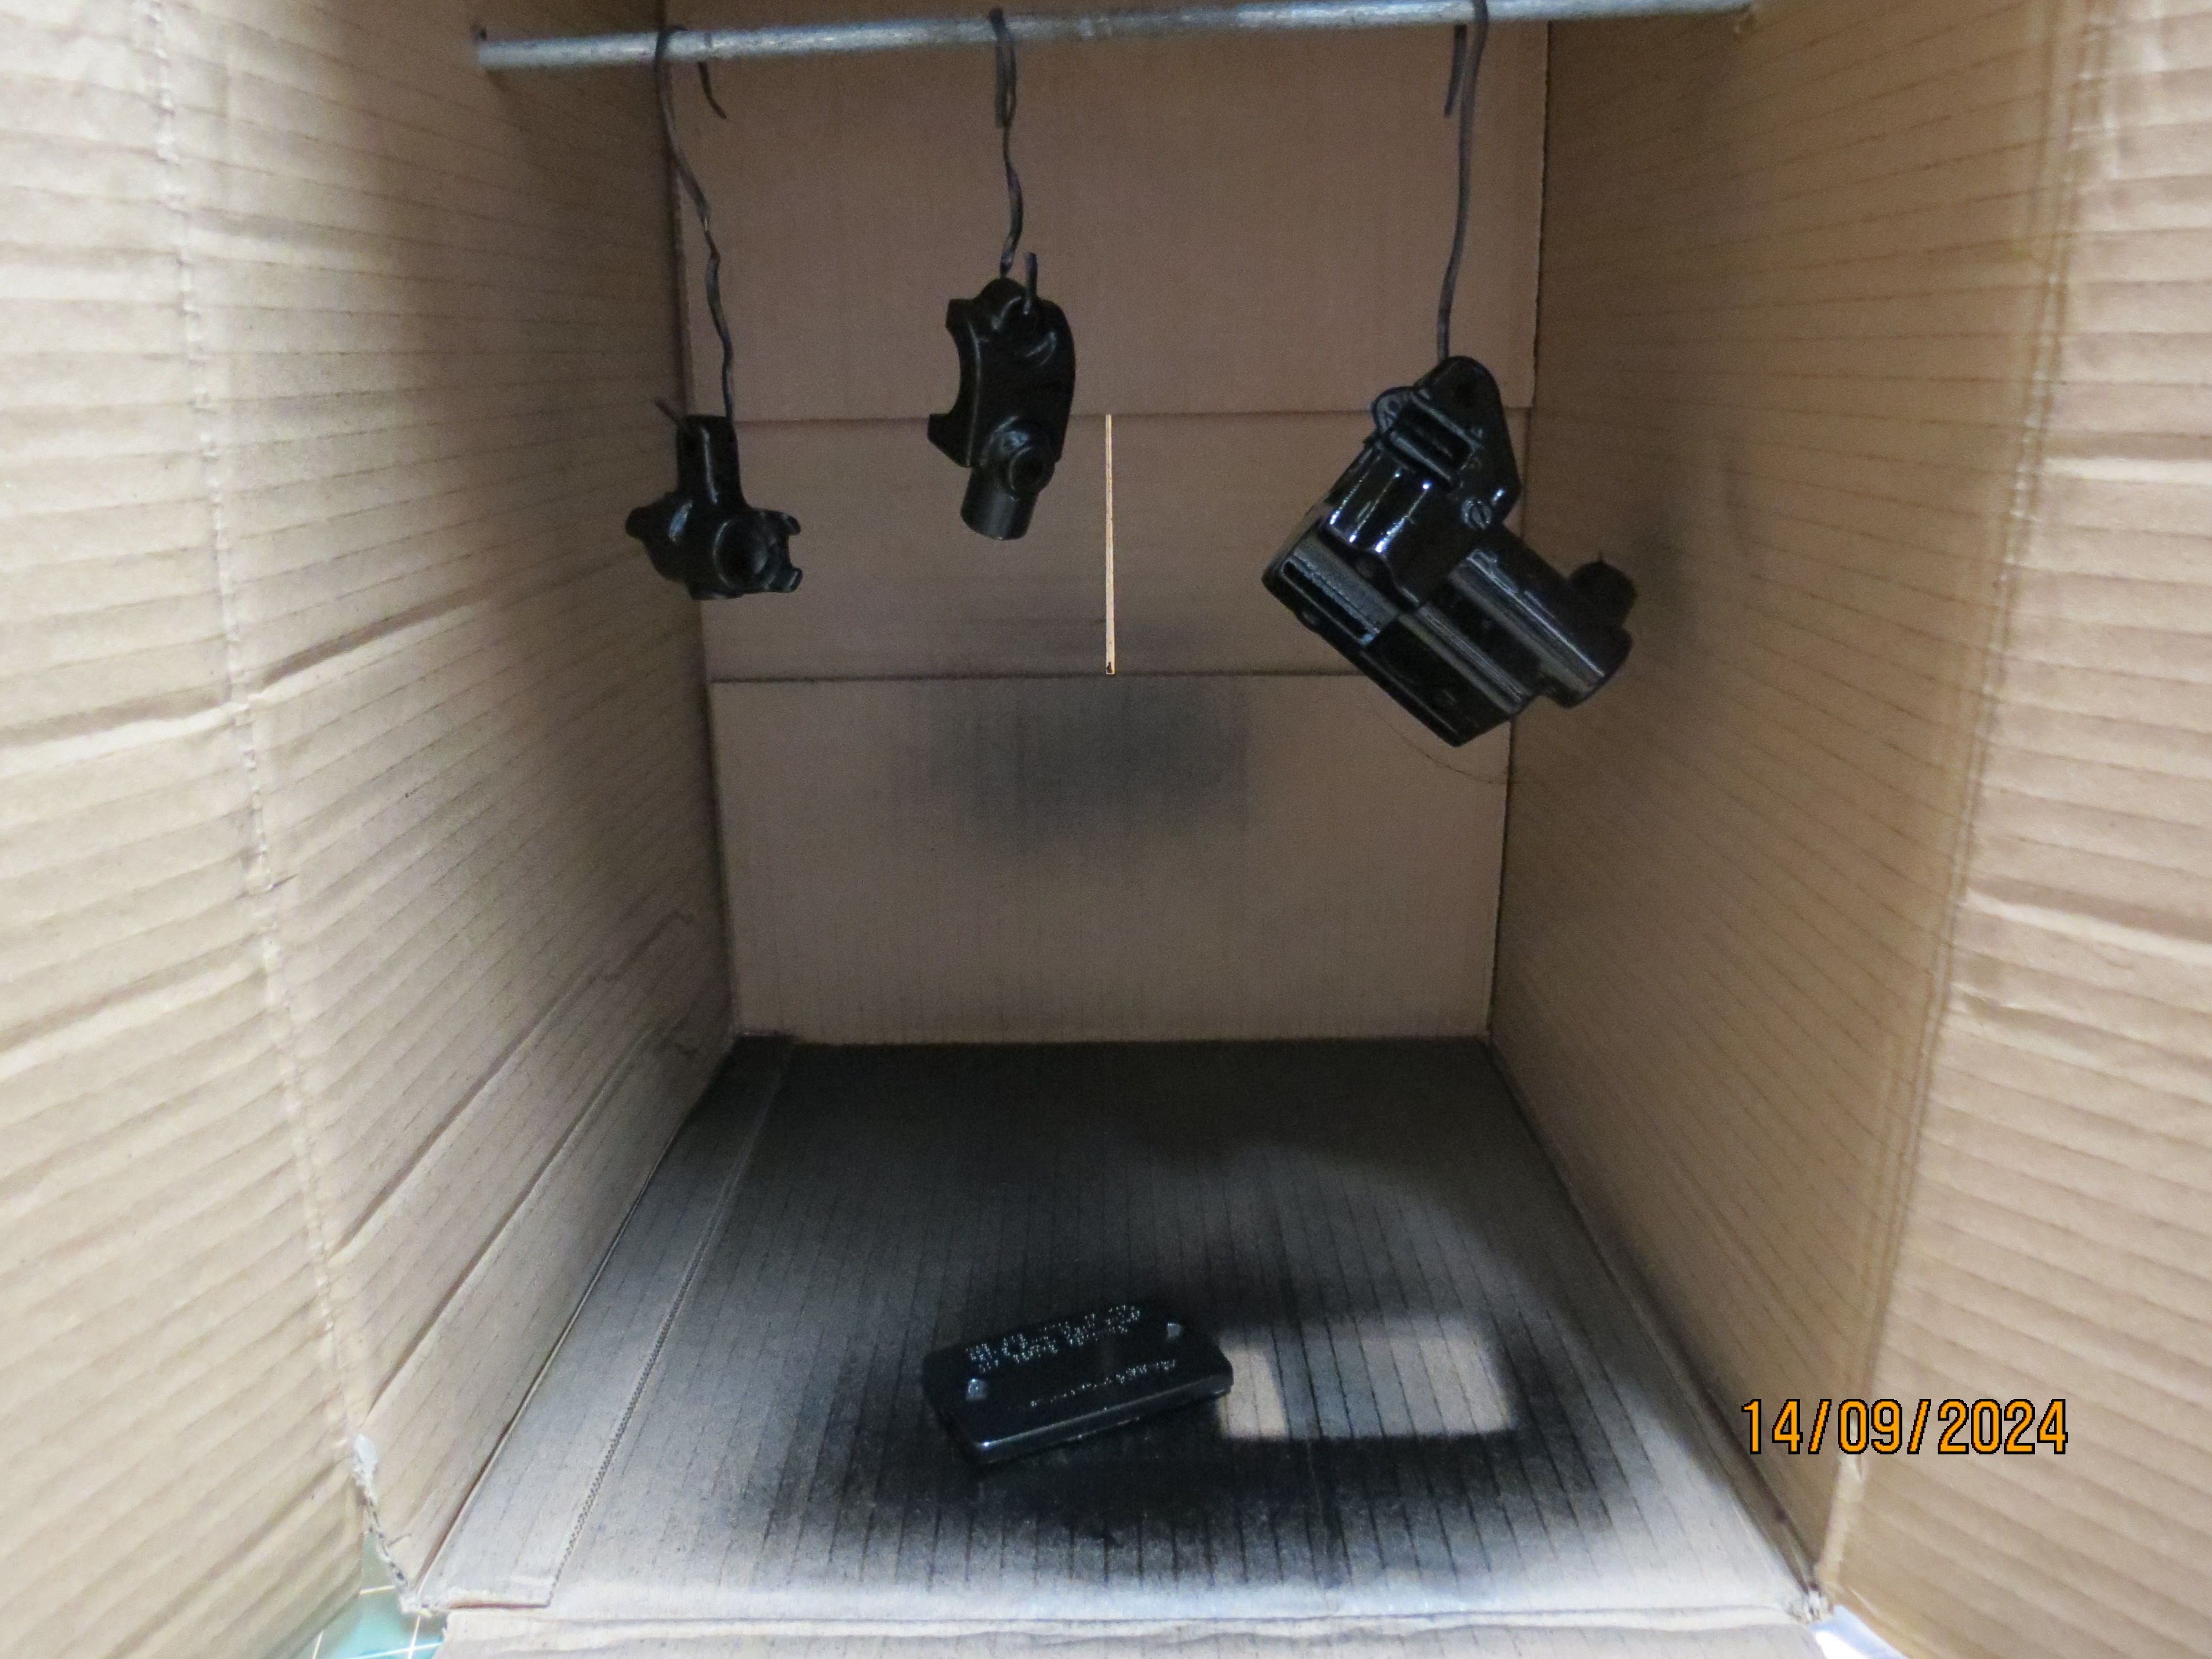
I swifly re-engineered a cardboard box into a spray booth, having purchased some satin black gloss brake paint, followed the instructions (unusual I know!) and painted the calipers, having blanked the ports off prior to spraying. Two coats later, mmmmm, almost shiney (see what i did there...).
so everything came up well, Banjo bolts were serviced or replaced as required, bleed nipples given the same diligent treatment. All hoses blown through and serviced, washers replaced and everything greased and then assembled. The front brake lever was polished, retaining some scars, a hint to its past and the switch was replaced as the previous one had parts missing. The pistons were put in my lathe and given a polish, a couple of pits, but not to affect their function, Everything went well - I had an issue getting the dust seals in the front calipers, a fud moment, but resolved the conundrum by using the piston with engineering skill to stretch the seal and get it into place, happy days.
The final build results are below:


No comments:
Post a Comment