This bike was the first in the line to be supplied with alloy wheels. Not strictly Cafe Racer i know, but in the tradition of restore not replace where i can to achieve the look (not to mention keeping costs sensible). I elected to refurbish the wheels. These are 40 year old alloy wheels.........
And technology was still catching up, so they were supplied with tubed tires. Again, because of my frugal nature, I decided to get the tires off myself. Very old tires and tubes. Additionally, the rear came with, what i now know as Rim Locks, the rear had 2 of them. This meant 3 valve size holes in the rim. The tires were a challenge, after deflating - I could not break the bead - no matter what I tried, until I used a 4 inch C Clamp to squeeze the tire away from the rim, then - using a combination of a 4" angle grinder, hack saw blade and snips i cut the tire from bead to bead. Each tire took about an hour to remove:


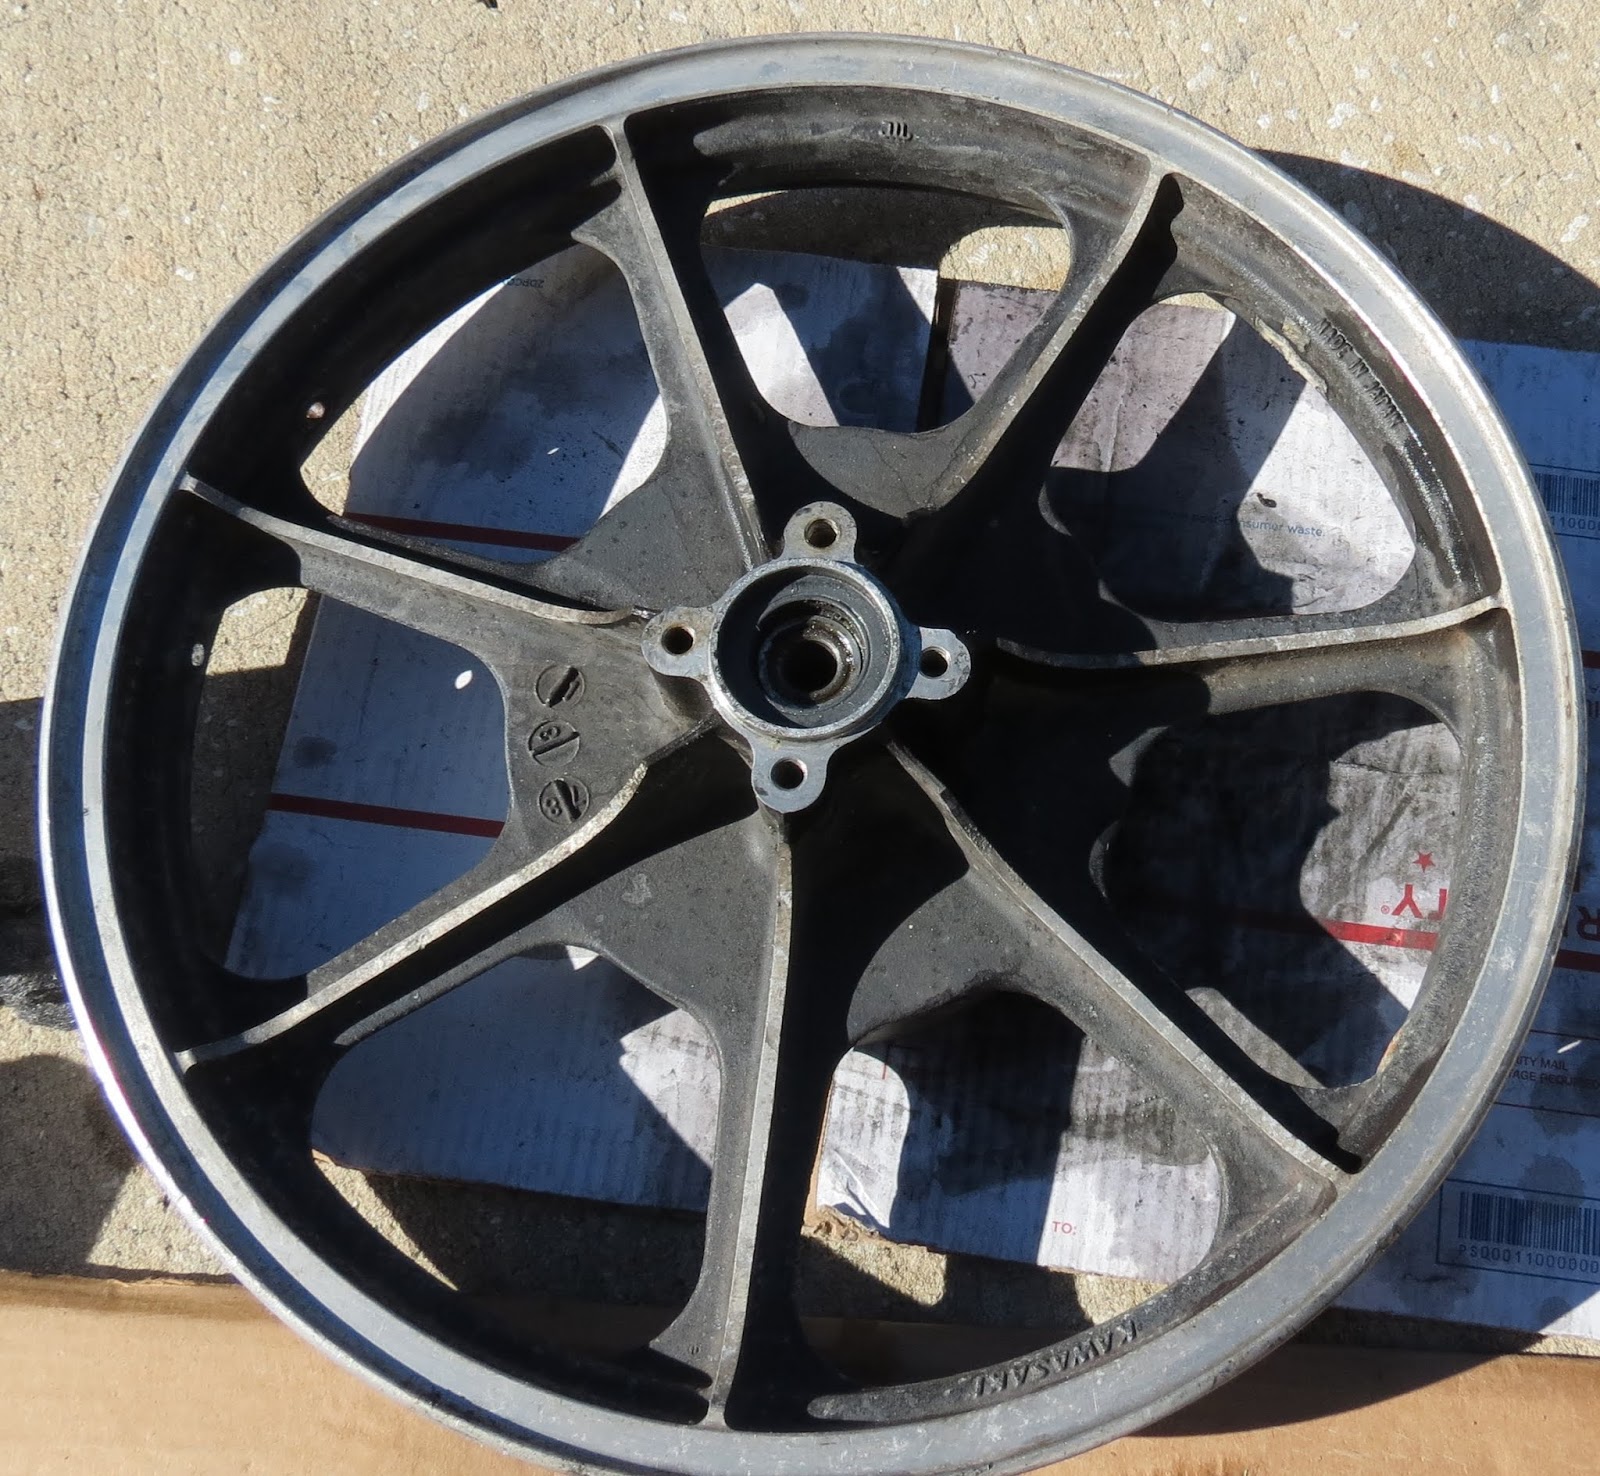
As can bee seen, under the tire it was a little 'gunky'. This was cleaned up with some wire wool and mineral spirits. In the last picture you can see one of the 3 'valve stem' holes. This was for the Rim Lock, usually found on trail bikes...?
So i first had to fabricate 2 aluminium plugs for the rear wheel. I do intend to run tubeless tires, however if the plug proves nothing more than cosmetic, i will run the same tire with a tube. It wont remain V rated, but this is a KZ650 not an issue. The holes were the perfect size for SAE 3/8 fine thread, that's 24 tpi. So i tapped the holes and then produced 2 threaded rivets. Tested for fit and then screwed them in place, from the inside, with a liberal amount of Gorilla Weld. Cut the excess from the outside of the wheel, filed and finished each one. The aim being an invisible fix once i have painted the wheels.
Now to the raw alloy on the spokes and rim. I cleaned and then started wet / dry paper sanding down in grits - 220 / 500 / 600 / 1000 / 1200, finishing with a wire wool wash with mineral spirits to prep the wheel for paining. To get a wheel stripped, washed, sanded and prepped for paint took around 5 hours, so that's 10 around hours in all. Below is the before and after pics, with a side by side picture of the rear wheel prepared and the front not started. The pictures do not do enough justice, but once painted they will gleam.


Update: The wheels are done, brake disks cleaned, just some husbandry to complete on teh bolts and drive to assemble. Came out not to shabby as it goes. Not bad for a lot of elbow grease and 2 rattle cans of paint and lacquer.


No comments:
Post a Comment