Friday, 22 February 2019

The Chain Rescue......

     So, one evening, being bored of the usual offerings from the TV, I looked at a random link on YouTube, to a guy going by the name of Delboy's Garage, about using distilled white vinegar to remove rust. Now I am a doubting Thomas, however, always open to new and easy ways to achieve my goal.
     Being the proud owner of a rusty chain, I have 2 choices, buy a new one or see if I can recover teh old. Guess what, I opted for door number 2! of to Walmart and parted with 82 cents and got some vinegar.


With one of a recently 'acquired' plastic tubs filled with the quart of vinegar, i rolled the chain and, along with the split link, immersed all, to 'cook'. It was around this time the mystery of disappearing Tupperware arose. My wife swears that our daughter is taking them for college.....
     After 4 days, not the weeks that Delboy left his very old and rusty chain, i opened the tub:

     As you can see, it is true, as Delboy says, this
looks like a lasagna, unfortunately, it smells a lot like a Victorian public toilet.
     I remover the chain, and washed it off with a hose, then, filling a bowl with a dilute solution of Mean Green and water, proceeded to clean up the chain. Using a combination of a wire brush and a spattering of exercise, not unlike taking 'Jean-Luc' to warp speed, cleaned the chain. I must say that my chain was in a lot better condition than the one on YouTube. So the rollers were not rusty or pitted, and i trusted Delboys' assessment of the rubbers. That being - they are robust and hold up to the vinegar. I must concede, that the resulting chain is very nice, not 'brand-new,, but never the less, more than good, and certainly keeping me to my mantra of 'Repair, Restore, Replace'. And the vinegar is way cheaper than the most budget of chains.
     Every link has been looked at for wear and rolled, the chain is good again, very little signs of wear, looks like was replaced and then the bike left in the yard. As can be seen, the chain came up good, and is now in my wife's missing Tupperware, with a light coating of CRC to tide it over until I need to fit it on the bike:
     The chain is good, i forgot to take a final picture, the one here ->
is prior to final cleaning and treatment. I have to say that I am impressed with the results, not to mention my amazement at home chemistry projects!

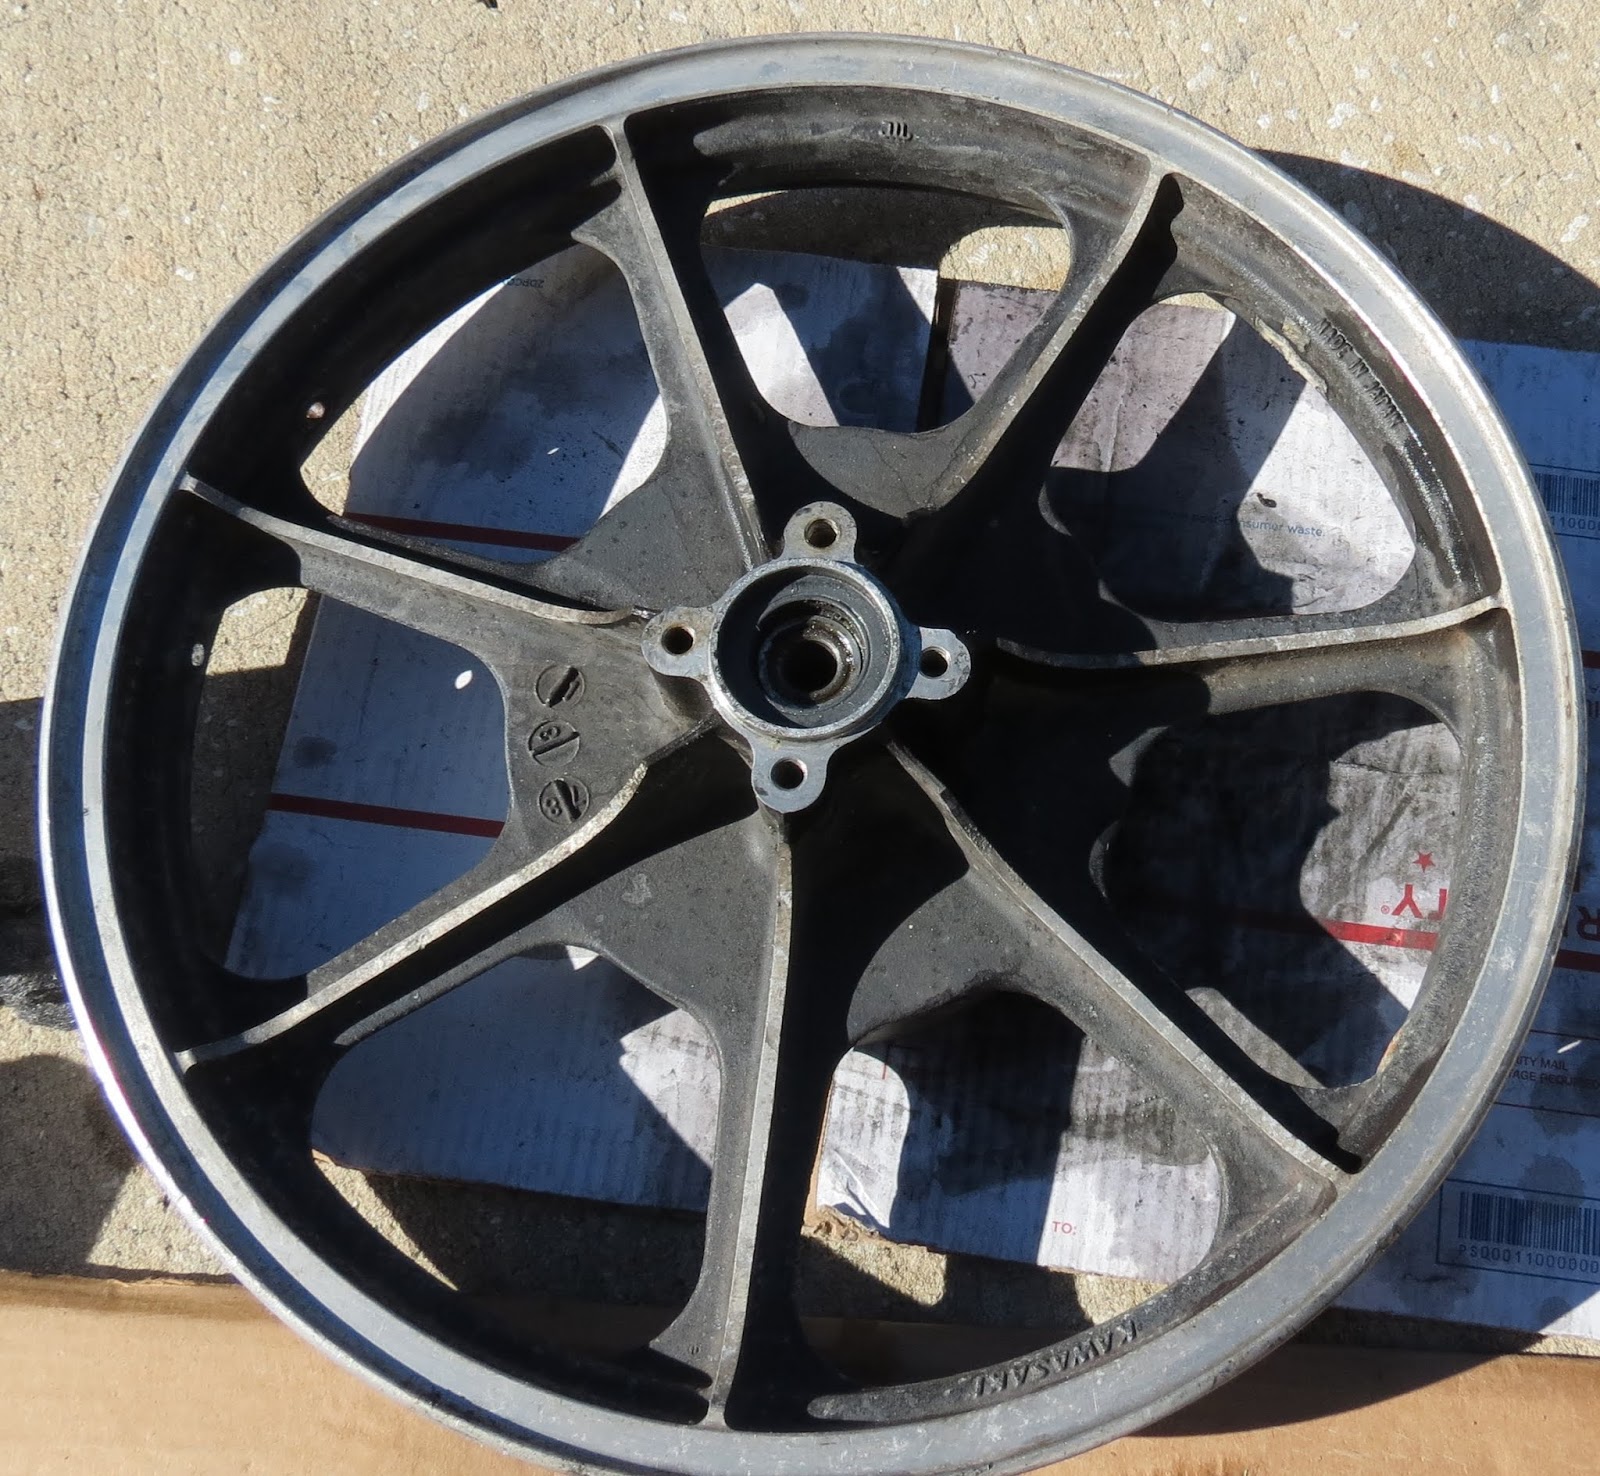
     Well, I do hope, if nothing else; you can see nothing ventured, nothing gained. My next installment will be the Assembly of the front suspension and attaching to my very glossy and black frame, along with the rear units and swinging arm. And this month my big project purchase is going to be tires (tyres - for the British among us). Am looking at around $220.00 for the pair.
     Until the next time, spanner responsibly, ride safe and enjoy.


Thursday, 21 February 2019

Powder Coating, mmmmmmm, Frame is done

     Two weeks after dropping the frame of at Powder Tech Plus of Orange Park, I got the call, well the rather nice voice mail stating that my frame was done. As fast as i could go, off I went, anticipation building with every mile covered. Powder tech is organised artistry, perfection from chaos. The yard, looking in disarray, is in fact an ordered production line. After the usual exchange of pleasantries, and funds, my frame was bought around. Chatting to the owner, he said that there was a grinding 'gash / line on the underside of the frame, he took the liberty of welding it full and grinding smooth. An absolute gent! Can't say enough about these people, amazing service and fantastic finish. The pictures below can't do it justice, also uploaded a quiet video, let me know if it doesn't play.


    I elected for gloss black, and was not disappointed! The frame is in better than new condition. When the bead blasting was done, every hole was plugged, every blemish smoothed. The result is, in my little world, breath taking, I only hope I can do the rest of the build in somewhere near the quality and to the standard that these parts have been finished.

     The urge to start assembly was too great. It is at this point I feel it necessary to reinforce my restore before replace strategy for my Caferacer. So, every nut, bolt, chromed dome head nut etc is polished then looked at critically, to see if it can be used. Of note, minor pitting on chrome, once polished and any rust removed, can be rectified by rubbing aluminium foil over the affected area. This little gem, can save a little wedge every now and then.

Initially, I needed to replace the old ball bearing head races with tapered ones, off to eBay I went. All balls racing proved to be the vendor of choice, and $36.00 and 3 days later my new bearings arrived. Having already punched out the old housings from the frame the new ones were to be inserted. This is a straightforward procedure, you must ensure the bearing seat is the right way around, the thinner wall to the outside of the frame. Then they are tapped into place using a softer material, in my case i used an aluminium 'punch' to settle the pieces in. Simple. Then, having removed the other housing from the stem, I tapped the dust shield on and the, again, ensuring the bearing was the correct way around, fitted the lower bearing to the stem. There are many You-tube videos on how to do this. Once the bushings are in and bearings on, test fit the parts. Greased, and then I assembled. Below is a video of the frame and steering head.


     The actual refurbish of the steering was relatively easy. Once disassembled and cleaned, it was painted with the black wheel paint and the old bearing housings removed, including the dust shields. The the new shield and roller bearings pressed onto the lower section, and the upper placed over the column once the head was inserted into the frame and then the steering head nut tightened, only finger tight at this point, just letting everything settle.
      The swing arm fittings were in a sorry state, but sticking to refurbish, repair before replace, they were all taken to my grinder and cleaned up (a little more on that on a different tack when you read about the chain). A teaser I know, I just can't hep myself. Then they were totally de-greased and I elected to parkerise the steel parts. They were not stainless so, having experience of the process I cracked on with the process, the results so pleasing I applied the same finish to the salvaged washers for the brake discs and rear sprocket. The results can be seen on the chain tensioner below:


     Yes, I can see there is a little tidying of the rusty nut, rest assured it has been done. I just got a little busy and into the KODAK moment.
      That is all for now, another installment soon, on the assembly of the forks, they have been totally refurbished by me, and they do look good. See, now you can't wait for the shiny......Oh, but first will do a short piece on the chain.

Tuesday, 12 February 2019

The bike that started it.

     So, in case you were wondering, this was the bike, the picture and the inspiration for my madness. The foolhardy perusal of Craigslist and impetuous purchase of my ugly duckling, my KZ650.
     I know it is a Honda CB750 but the urge was upon me:

     I know there are differences,  but if I can get close to this look I will be a very happy man.

From this:                                                             To this:
     That is all for now. Awaiting my cut frame from Powder Tech. Then I can start more assembly.


Wednesday, 30 January 2019

Front and Rear Suspension

    Rear Suspension, i ordered a set of nice KZ 750 units, in very good condition, or so eBay man says. And the pictures of them reinforce his statement. So $32.00 including delivery, they were swiftly ordered. Pictured here:


     So I hope they look as good when they arrive. I did consider new parts and even some from china, but I am on a budget and these will keep the look pure and in keeping with the original ethos of the 59 club.

     As for the front forks, here are a few tips:

1.     Loosen the top fork bolt - in my case a 1/2" square recessed bolt, whilst still on the bike, or at the very lease, keep the forks in the yokes.


2.     Use either a impact wrench (air) to loosen the top bolts, or as i did, a breaker bar, I prefer to use a little torque as opposed to impact wrenches on occasion.. My suspension, I suspect has not been opened or serviced since 1979!


3.     I ordered the wrong tool to get the damper out of the fork legs. It was from eBay, my bad. The correct tool is part number 57001-142 - and is quite the elusive little f****r to find. A back up is a tapered dowel, here is hoping that works.

     The front forks, as I mentioned, look like they have never been apart, the oil, what little remained was very thick, smelt terrible and was the darkest green/black i have seen. From both forks, less that 2 fluid ounces drained!  So now, I need to improvise the front 57001-142 tool, or as a last, and hateful resort, take the legs to a shop for them to loosen and remove the hex not in the bottom of the forks for me. I say hateful, only because i want to do as much as i can myself.

     Once done, I can clean and service the forks and reassemble. Put new seals and covers on, but not before I put 20w oil into them. I chose 20w as I am a 225 lbs rider, so i wanted to stiffen the front a little. My only dilemma is whether I should change out the springs for progressive units. Around $100.00 or so.

     The lower fork legs will get a polish prior to reassembly, just to complete the overhaul.

     Update: Think I need the special Kawasaki tool, my last chance is an impact wrench and tapered dowel to hold the internals of the forks. If this fails, a large bag of f***s will be needed. Plan B being to polish the lowers forks on the tubes and then re-assemble. Assembly after replacing the seals, this is possible with the tubes still in place, but a whole lot easier disassembled. I will need that bag again....

     Update 2: I have put my bag of f***s away. With the appropriate use of an air impact wrench and a shaped wooden dowel I have got my suspension apart. Basically, tap the dowel into the damper, inside the tube and hold it, then - with an 8mm hex attachment for the impact wrench, undo the bottom bolt. Took all of 3 minutes. Job done, all stripped, ready for the service, polish and reassembly:


     The shaped dowel can be seen at the bottom of the picture. The Hex nut at the top right, damper is the short piece in the middle of the pic. I don't think this suspension has been apart or serviced in 30+ years.


Wednesday, 23 January 2019

The Frame Part 2

     Well, the frame has had its last cut and welding done! I am a happy man, the frame has lost no rigidity and is now 5 lbs or so lighter and looks a lot better.:


     As you can see i have removed the rear foot rests and from the 3 lower pictures, i have welded closed the frame remodeling. Giving the evolution shown below:


     The whole rear end is now definitely how i want it to look. While doing this i realized that the head bearings were the very old loose ball bearing type, i will be replacing these with the modern tapered bearings, around $35.00 from any store or eBay.  In order to do so i had to remove the old bearing seats. This is easily done with a hammer, long screw-driver and some percussion adjusting. It takes around 5 minutes to remove the old seating:


     So now to order the new bearings, to fit after the powder coating. The powder coating is going to be done by Powder Tech Plus Inc. These guys come highly recommended and are charging around $220.00 for frame, swing arm and side stand. I elected to use HVT wheel pain for the wheels and steering head stuff.     Well, today (29 Jan 19) is a good day. Took the frame to Powder Tech Plus, got a good rate for the work. It will be a week before i see the results, but have elected to go with a gloss black finish, can't wait to get it back. Also ordered new, well new for me rear shocks from eBay. I elected not to get some Chinese air filled parts, or even new progressives. The only upgrade i went for is putting 1978 KZ750 parts on order. Advertised as in VGC, and only $32.00 delivered. Pictured below from the add:

     Look good, i hope the picture doesn't do them justice! Also got fork Oil for the front.     Update: The rear KZ750 units arrived, and are better than expected, I am a pleased and satisfied builder today.


Thursday, 10 January 2019

The Wheels

Well, i know, it has been a while. I bet you all thought i gave up! Well i had a couple of family issues to deal with and a lot of work to catch up on, but i am back.

This bike was the first in the line to be supplied with alloy wheels. Not strictly Cafe Racer i know, but in the tradition of restore not replace where i can to achieve the look (not to mention keeping costs sensible). I elected to refurbish the wheels. These are 40 year old alloy wheels.........

And technology was still catching up, so they were supplied with tubed tires. Again, because of my frugal nature, I decided to get the tires off myself. Very old tires and tubes. Additionally, the rear came with, what i now know as Rim Locks, the rear had 2 of them. This meant 3 valve size holes in the rim. The tires were a challenge, after deflating - I could not break the bead - no matter what I tried, until I used a 4 inch C Clamp to squeeze the tire away from the rim, then - using a combination of a 4" angle grinder, hack saw blade and snips i cut the tire from bead to bead. Each tire took about an hour to remove:


As can bee seen, under the tire it was a little 'gunky'. This was cleaned up with some wire wool and mineral spirits. In the last picture you can see one of the 3 'valve stem' holes. This was for the Rim Lock, usually found on trail bikes...?
So i first had to fabricate 2 aluminium plugs for the rear wheel. I do intend to run tubeless tires, however if the plug proves nothing more than cosmetic, i will run the same tire with a tube. It wont remain V rated, but this is a KZ650 not an issue. The holes were the perfect size for SAE 3/8 fine thread, that's 24 tpi. So i tapped the holes and then produced 2 threaded rivets. Tested for fit and then screwed them in place, from the inside, with a liberal amount of Gorilla Weld. Cut the excess from the outside of the wheel, filed and finished each one. The aim being an invisible fix once i have painted the wheels.

Now to the raw alloy on the spokes and rim. I cleaned and then started wet / dry paper sanding down in grits - 220 / 500 / 600 / 1000 / 1200, finishing with a wire wool wash with mineral spirits to prep the wheel for paining. To get a wheel stripped, washed, sanded and prepped for paint took around 5 hours, so that's 10 around hours in all. Below is the before and after pics, with a side by side picture of the rear wheel prepared and the front not started. The pictures do not do enough justice, but once painted they will gleam.


     Update: The wheels are done, brake disks cleaned, just some husbandry to complete on teh bolts and drive to assemble. Came out not to shabby as it goes. Not bad for a lot of elbow grease and 2 rattle cans of paint and lacquer.


Saturday, 1 September 2018

Cutting the frame and fitting the seat unit.

     Posting today after a long while. Have had a few things going on, so my bike has taken the hit. Now settled at my new home.
     I removed the handle bares and steering from the frame. The bearings are worn and will need replacing, it was very notchy.
     The seat unit decision took a lot of time and thought, Possibly too much thinking, sometimes with a PBR in hand. Eventually, after much web browsing, i settled with Dime City Cycles, and browsed the selection. I settled on the THRUXTON Fibre Glass seat pan and the all in one PAD that goes with it. It is the right length and width, but the frame will need a trim.....out with the angle grinder.
     Measuring 6 times, i cut only 4, below are the pictures for the before and after of the trimming. As you can see from the marked before photo, there was about 3lbs of metal to trim:


The resulting cuts and a little grinding left these parts in a zip-lock, just in case... The rubber bushing may be used to support / cushion the seat unit.


     So, the frame is cut:


     It took about an hour of cutting and shaping to get the fit, but as you can see, not too bad. My only bug bear is the seat sitting a little too high on the frame. If i want it lower there are a couple more square lugs to cut off, the problem being is that:

     If I lower the seat unit any more i will loos the lines between unit and tank, however, it will cover a little more of the frame. I think the line is more important, but will mull it over. You can see the initial results below:


     The seat pan fits nicely, the pad is about an inch short, but i intend to have it upholstered in leather with a diamond pattern in the stitching, will use this opportunity to lengthen the pad a little to fit it a plush fit.
     So, that's it for today, juices have been flowed and interest reignited for my project. Now to look at the foot pg requirements, a little frame trimming and dressing before the powder coating. Gloss black is the decision.